Required utensils
- Scissors
- Hot glue gun
- Double-sided adhesive tape
- STYLIT cord with wire "wick thread mica"
- STYLIT sheep's wool felt "Money Maker"
- STYLIT wool scraps "Stylo Scatter"
- Accessories: pink coloured craspedia, globe thistle, various grasses. grasses
Materials and colours
GU33 Lime green
RS33 Pink
BL24 Dark blue-navy
The Sheep's wool felt "Money-Maker» in Lime green gives your bottle decoration a fresh, lively accent. The high-quality felt impresses with its intense colour and is easy to work with. Whether as an eye-catching gift or a stylish decorative piece for your home - the lime green felt makes for an eye-catching gift. modern, creative look and makes every bottle a real eye-catcher.
The Cord "wick thread mica" With wire in Pink brings a sparkling touch of glamour to your bottle decorations. With its glittering effect and vibrant colour, the thread sets impressive accents and transforms every bottle into a real highlight. Ideal for festive occasions or as an eye-catching decorative element, the "Glimmer" thread not only adds elegance to your bottle, but also an extra dose of style. Let your creativity run wild and enjoy the Fascinating effect of this pink mica thread!
The colour combination is rounded off with an intense Dark blue-navyboth in the Wool snippets of the "Stylo Scatter" as well as in the floral decoration material. It is no coincidence that the two Bottles in matching colours and thus form a bright and colourful unit with wool felt and accessories.
Step by step
Step 1:
Cutting felt to size
Cut the felt to length so that it reaches the neck of the bottle on both sides. Then cut the felt in half lengthways to create two strips of the same size. The remaining strip can be used for another bottle.
Step 2:
Cutting slits
Now cut a slit in both ends of the felt. Make sure that you do not cut all the way through the felt - the slit should only be big enough to be able to pass the felt over the bottle. After cutting, check that the slits are even and correctly positioned.
Step 3:
Put the felt over the bottle
Wrap the felt once around the neck of the bottle, twist it once and then put it over the bottle again. Repeat the same process once more on the other side.
Step 4:
Cut the felt squares
Cut two small squares out of the felt. Make sure that the squares are the same size. Make a small cut in the centre of each square, which should again be large enough to fit over the bottle.
Step 5:
Place squares on the bottle
Stagger the two squares on the neck of the bottle. Make sure that the squares are nicely arranged to create an appealing visual effect. The staggered placement can give the neck of the bottle an interesting and unique look.
Step 6:
Embellish bottle with cord
Embellish your design by wrapping a piece of cord around the neck of the bottle several times. Make sure that the windings are even and neat. When you have reached the end, secure the cord with a small knot to keep it in place.
Step 7:
Attach the felt to the bottle
Cut off a small piece of the double-sided adhesive tape and attach it to the underside of the bottle. Then place the felt over it again.
Step 8:
Decorate
Finally, add some wool snippets and accessories to give the design the finishing touch. Distribute the wool snippets and accessories around the neck of the bottle to create additional accents and give the design an individual touch. Make sure that they fit harmoniously into the overall picture.
Done!
How-to video
Designer
Anja Ersing is a passionate florist. Individuality, quality and great attention to detail probably best describe the work of the Ludwigsburg master florist.
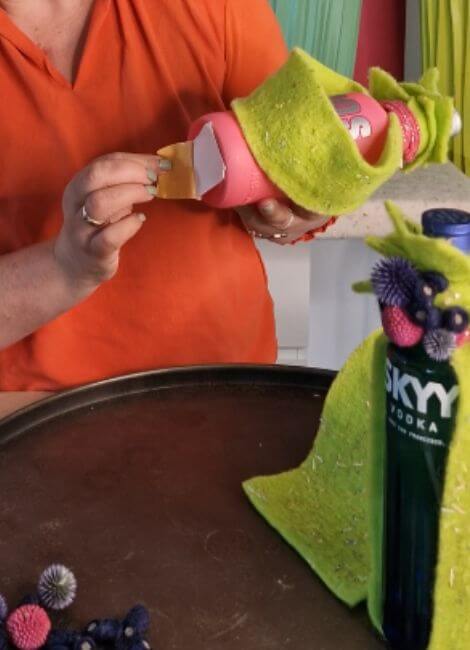
Anja has been working as a florist since 2006, designing flower exhibitions and showrooms and speaking at various trade events. We are always amazed at how Anja breathes life into our felts and cords, creating lovely and authentic pieces.