Colours and materials


The core statement in the SENSE trend is retained and the pastel colour palette shows a very discreet transition to a new combination in which Silky tones and silvery accents take centre stage. The overall atmosphere of elegance and sophistication is preserved in a new product combination that seems completely different at first glance.
The Felt band "Organic» in white lends any workpiece a timeless elegance thanks to its soft texture. It blends harmoniously into decorations and creates a stylish look. It is complemented by the Cord with wire «Dochtfaden Glimmer» in whitewhich offers flexibility and stability with its wire core. This cord enables precise bends and decorative accents, whereby both materials together offer an elegant solution for a wide range of design options.
The Clematis Amazing Oslo with its elegant, soft blossoms brings a Romantic sophistication into the arrangement. The Oxypetalum Tanioka Pure Blue sets lively, fresh accents with its intense blue colour. The ensemble is complemented by the Nigella Da Deep Sea Blue per Tak and the Delphinium Elatum Delphins Powerwhich add further fascinating colour nuances. Together, these flowers create a stylish and romantic composition.
Step by step
Step 1:
Prepare wire
The first step is to wrap two stick wires together with thin black adhesive tape. These wrapped wires are the basic structure of the bouquet.


Step 2:
Shape the wire
Shape the wrapped wire into a ring. Use a vase with the desired diameter as a template. By carefully bending the wire around the vase, you will create an even and stable ring as the base for your workpiece. Tie the end and the beginning with the black adhesive tape.
Step 3:
Wrap the wire with the felt tape
Now wrap the felt tape tightly around the wire ring. Wrap the tape evenly around the entire ring until it is completely covered. Finally, secure the end of the felt ribbon with a dab of hot glue to ensure that it holds well and does not slip.


Step 4:
Prepare the wooden heart
Next, take the wooden hearts and drill a small hole at the bottom at the tip. This hole should have the same diameter as the wire so that the hearts can then be securely and stably attached to the wire.
Step 5:
Fix the wooden heart to the wire
Now apply a dab of hot glue to the tip of the wire before inserting the wire into the drilled hole in the wooden heart. This will securely and stably attach the heart to the wire.


Step 6:
Wrap the wire with the cord
To embellish the stem of the heart, wrap the cord around the wire. Make sure to wrap the cord evenly and tightly. Then secure the end of the cord with some bouillon effect wire. This will ensure that the cord does not come off the wire and slip down.
Step 7:
Attach hearts to the wire ring
Attach the wooden hearts to the wire ring with buillon effect wire. Cut a piece of wire and wrap it tightly around the wire ring to create a stable base. Make sure they are securely and evenly distributed.


Step 8:
Adjust and fix the wire ring
Now place the ring in the desired position. To fix it in place, tie the wire ends of the hearts at the bottom with buillon effect wire.
Step 9:
Attach flowers
Now it's the flowers' turn. Select the flowers you want and place them on the ring as desired. Attach each flower with some wire to hold it securely in place. Make sure that the flowers are evenly distributed to give the ring a harmonious overall look.


How-to video
Designer


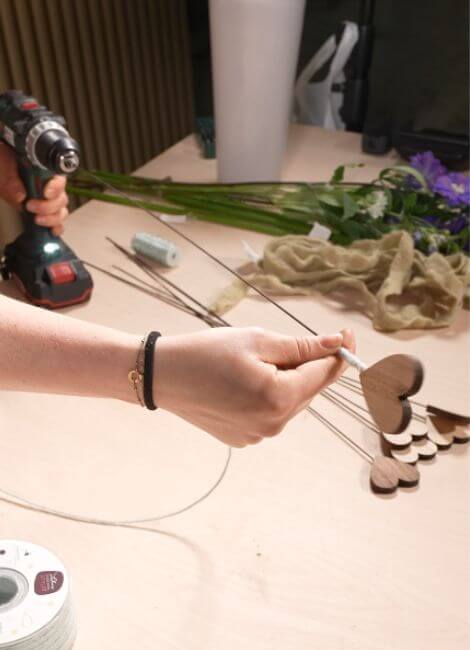
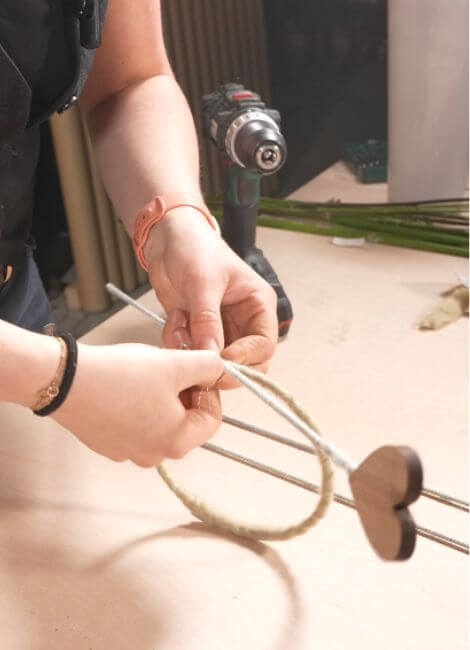
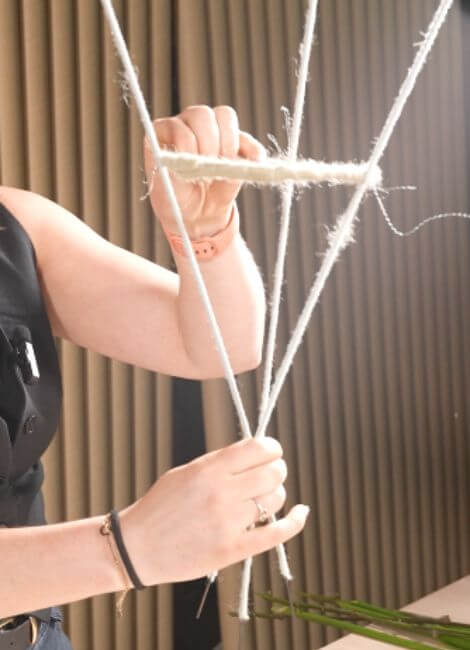
Franka Roenhorst loves to challenge herself creatively with a variety of materials, including STYLIT products. In this way, new, unrivalled flower arrangements are constantly being created in her hands.
Franka has already proven her mastery of floristry many times over: whether through various competition performances or in her flower shop in the Netherlands, which she runs together with her partner.

