Required utensils
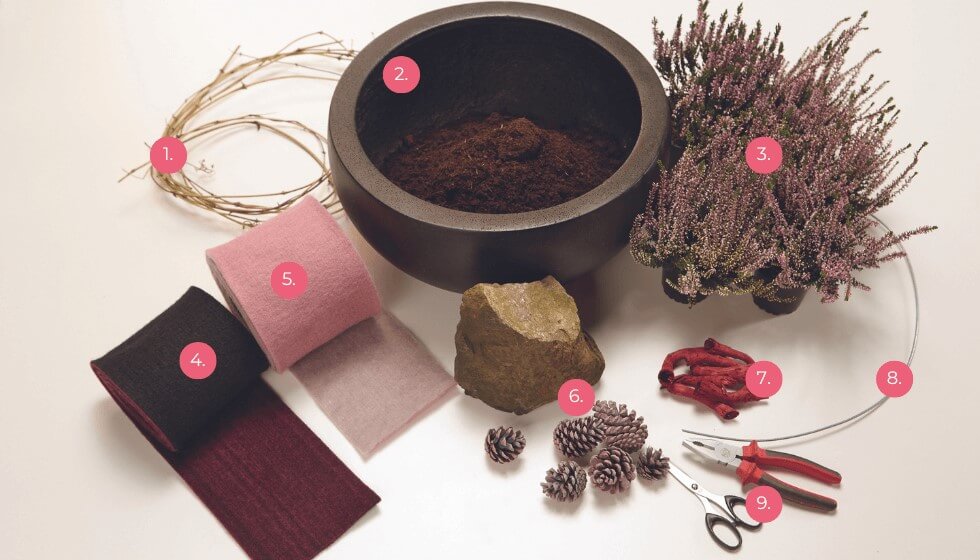
- Flexible tendrils
- Flower bowl filled with potting soil
- Pink broom heather or other suitable flowers
- STYLIT virgin wool felt "Toni"
- STYLIT virgin wool felt "Klausi" two-coloured
- Large stone and pine cone
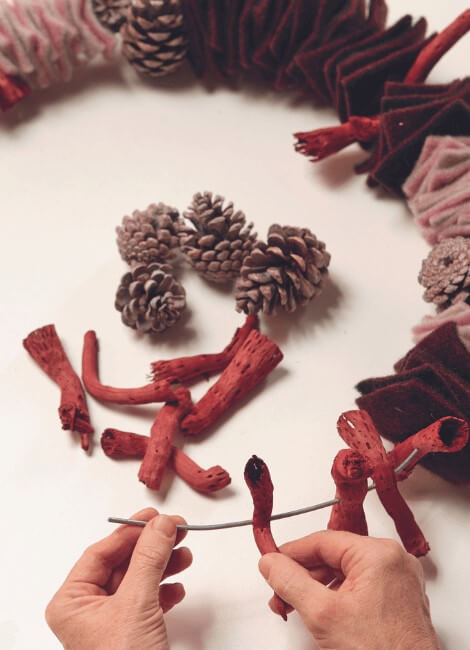
- Pieces of wood in reddish colour
- Daht
- Scissors and combination pliers
Materials and colours
Dusky pink VI24
Grey GR18
Black GR07
Garnet red VI09
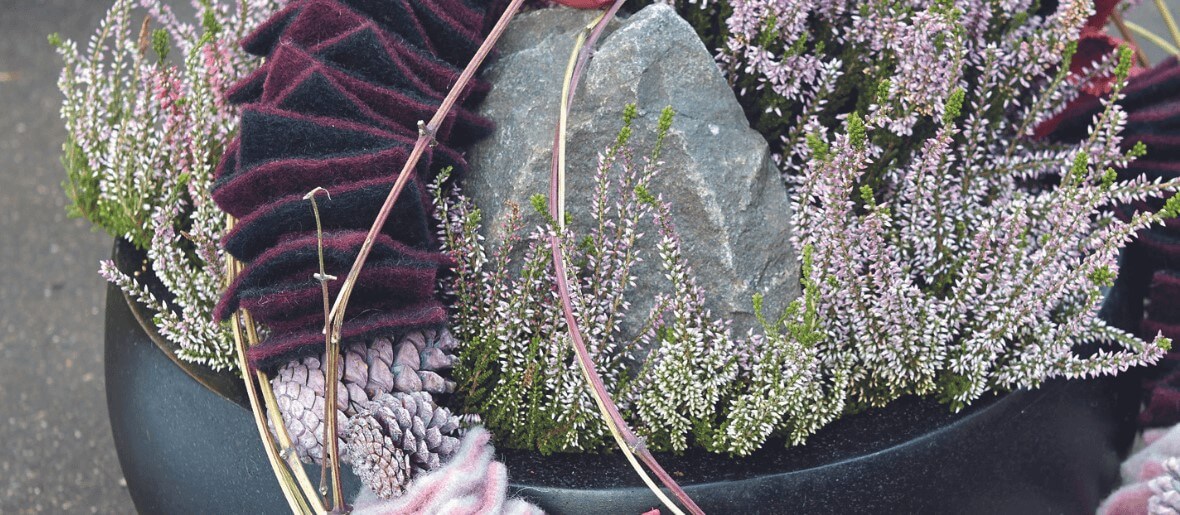
Klaus Wagener has the Colours of this work of art extremely considered selectedto support the bereaved in the best possible way in their process of coming to terms with their loss.
The gentle Dusky pink lovingly commemorates the deceased and creates a delicate component that symbolises a special memory. The calming Grey symbolises the transience of life and contributes to a contemplative atmosphere. The classic mourning colour Black the designer expresses the seriousness and depth of grief. What stands out is the strong Garnet redwhich stands for enduring and never-ending love.
Of course, you have the freedom to arrange the colour elements according to your personal preferences and thus set your own accents for a particular colour symbolism. With this workpiece, you can use both the two-coloured wool felt "Klausi" as well as the single-coloured "Toni" felts use.
Step by step
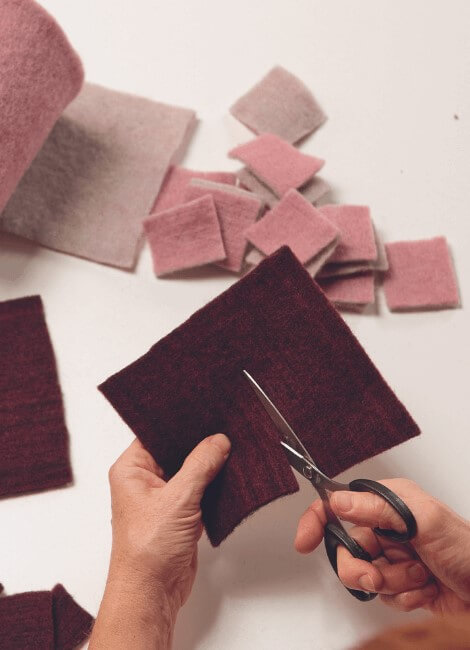
Step 1:
Cutting felts to size
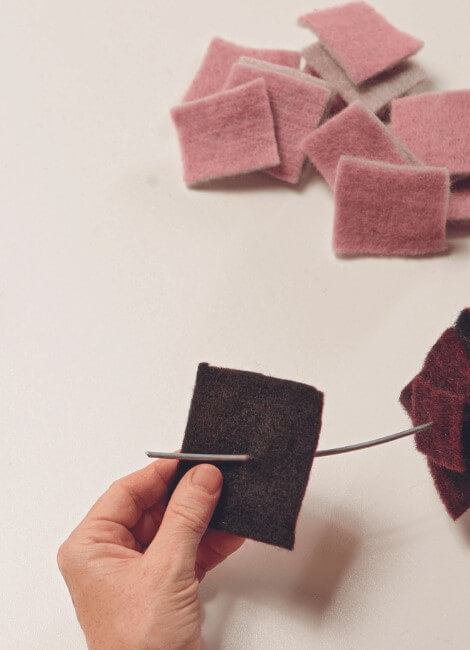
Step 2:
Threading on the wire
Step 3:
Addition of decorative elements

Step 4:
Close wire circuit
Step 5:
Final spurt

Designer

Klaus Wagener's love of floristry was kindled at an early age - his parents already owned two flower shops. Klaus is a lecturer, examiner and television florist. He inspires professionals and private flower lovers alike with magazines and books from his publishing house BLOOM's.
We are delighted to have Klaus on board with us repeatedly as a companion and trend consultant and are always thrilled by his woolly creations.